
Manual :
We hope that most of the information you need, you can find on this page, if there’s anything else you’d like get some help with please contact us. In here you will find
1. Installation Guide
2. Usage Guide
2.1 How to Turn On
2.2 How to Turn Off
2.3 The 2 Modes
2.4 How to Switch Modes
3. How to Attach a Key-Chain
3.1 How to Attach A Key-Chain
3.2 Key Chain Trouble-Shooting
4. How To Change Batteries
4.1 When To Change Batteries
4.2 How to Change Batteries
Installation Guide
Step 1 :
On the back of Rowclock, there is two parts of a Dual-Lock, Velcro-Like tape, peel the protective layer off the back of this tape, exposing the adhesive.

Step 2 :
With the adhesive exposed, place the Rowclock with the screen facing you. When you need to take it off, just take it off, seperating the two layers of Velcto-Like Tape

Step 3 :
Doubletap on the Rowclocks front to turn it on, and you should be ready to row.
How To Use
How To Turn On
In order to turn the Rowclock on you have to double-tap the front of the device, as seen in the video above this section, when turned on it will show a battery indicator and the hardware & software version for a few secounds
How To Turn it Off
The Rowclock will automatically turn off when it hasn’t been used, or hasn’t detected anything for some time.
The Two Modes
The Rowclock can be in one of 3 modes showing different information

Mode 1 : Normal Mode
The Normal Mode is the mode the Rowclock is in when you turn it on. You can recognize it in this mode by the “N” in the upper left corner.
The number in the top is the number of strokes, below that the time and lastly the stroke rate.
This mode only shows information for the current lane, when you stop rowing for 6 or more seconds it will turn from “Work” to “Rest”. When in “Rest” the stroke rate will be the average stroke rate for the lane. when you begin rowing again it will go back to work and reset all the information.

Mode 2 : Total Mode
The Total Mode will show you, from top to bottom, the total number of strokes, the total time from when it was turned on, and the current stroke rate, You can recognize that the Rowclock is in this mode by the “T” in the upper left corner.
In total mode it does now change the information when it goes into “REST”, here rest is just to indicate that you can change the mode back to normal if you want to (See HOW TO CHANGE MODE for more information on how to change mode)
HOw to change Mode

You can only change mode if “REST” is shown in the bottom of the screen, if “REST” is shown then double tap on the front or side of the Rowclock to switch which mode the Rowclock is in".
Using Key-Chain
Rowclock has been made so you can attach a key-chain to it, and in the package there comes a key-chain with Rowclock.

Step 1
On the top of Rowclock, there is a hole for the attatchment of a key-chain such as the included one.

Step 2
Take the loop on the key-chain and put it into the hole on the Rowclocks Top
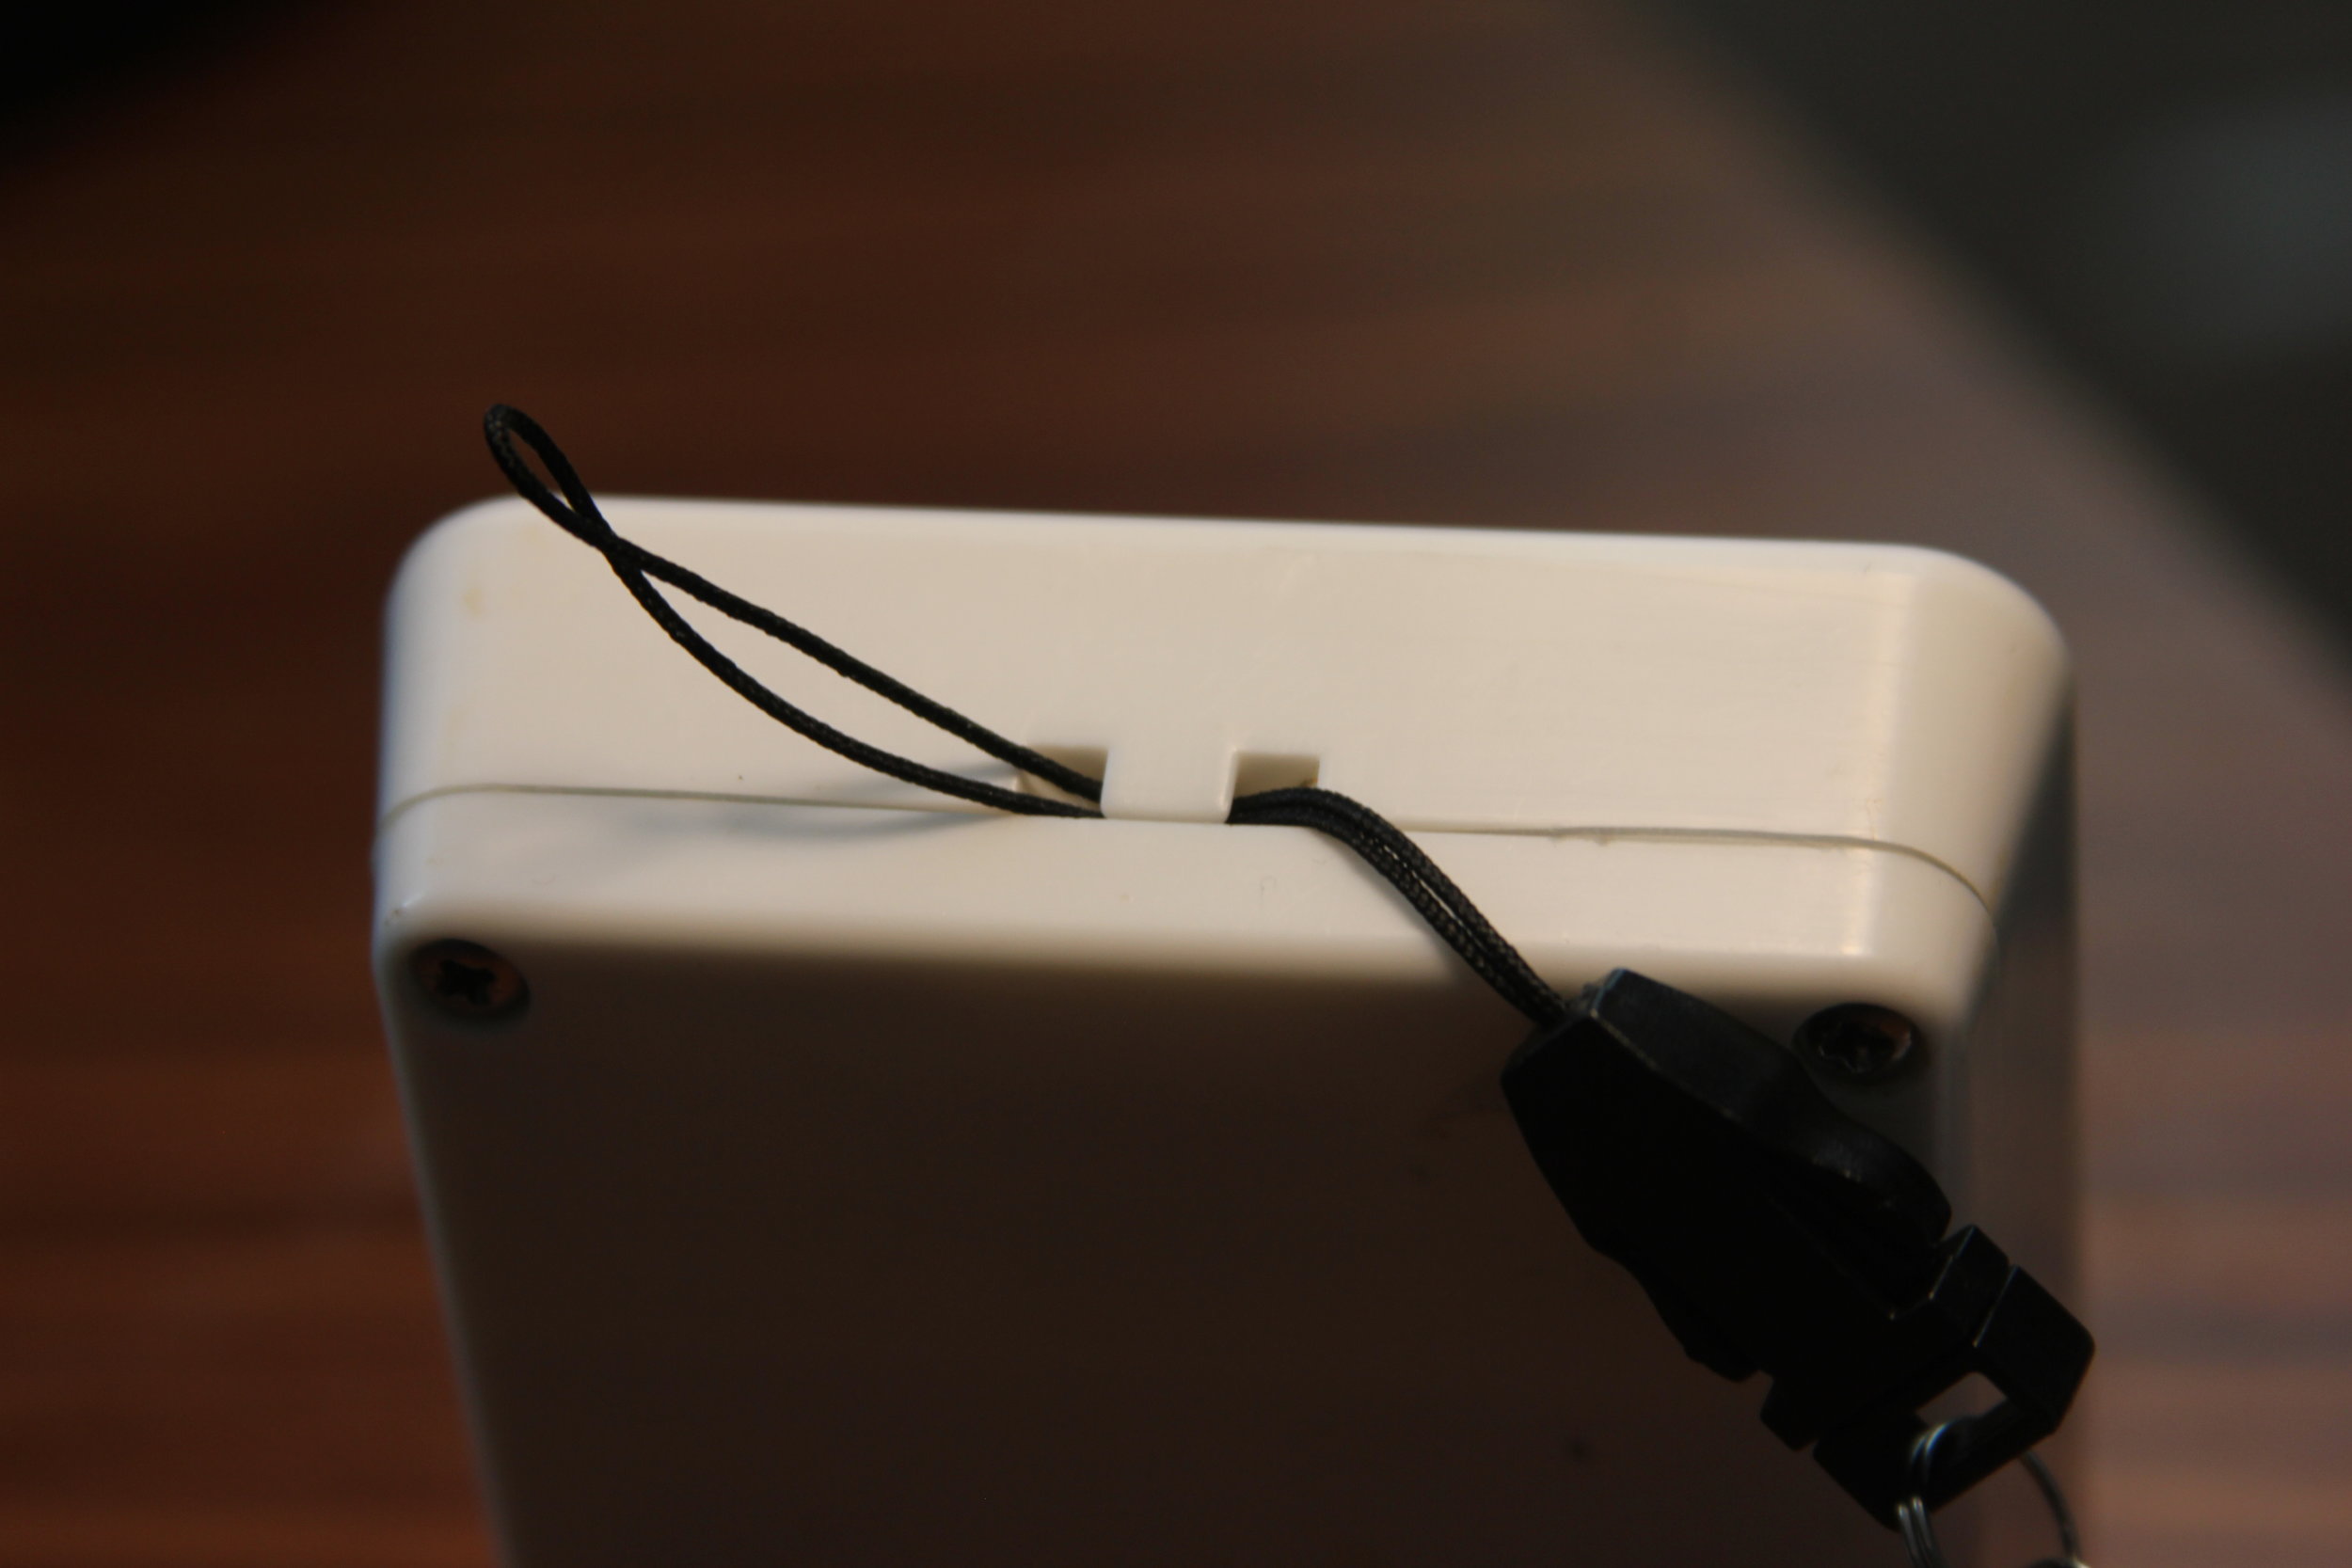
Step 3
Push the loop through the hole

Step 4
Take the part of the key-chain that you put around your neck and put through the loop which you’ve pushed through the hole

Step 5
Pull the key-chain all the way through this loop

Step 6
When the entire key-chain has been pushed through, the key-chain is attached to the Rowlock
Key-chain Trouble-Shooting
Sometime you might experience that if you pull hard enough on the key-chain, the key-chain might come off, this usually happens after you have disassembled the Rowclock, and is most likely because the screws haven’t been tighten enough, or that the packing, the small silicon layer between the two parts, have been placed incorrectly. Try tightening the screws to see if that helps, if not, try to see if the packing is oriented correctly, and if non of that works please write to us, we are more than happy to help.
Changing Batteries
When you buy the Rowclock, the included batteries are expected to last up to 2 years, if you change the batteries to new versions of the same batteries, it should last 2 years on those as well.
When To Change Batteries
On start-up the Rowclock will write an indicator of the battery, it will write either “Good”, “Low” or “Change”, good means that there a significant amount of battery left, Low means that there about 10% battery left, which is about a few months of battery, and Change means that the battery is so low the Rowclock might not work as intended. If the battery indicator says “Low” we recommend that you change the batteries, and if it says “Change” you should chance the batteries soon.
How To Change Batteries
Described below is a step-wise guide to how to change the batteries, if you are confused by the guide or something doesn’t work, please contact us.

Step 1 : Remove Back
Remove the 4 screws on the back of Rowclock in order to remove the back and the Silicon ring between the back and the front parts of Rowclock

Step 2 : Remove Batteries
Remove the 2 old AAA batteries from the inside of the Rowclock

Step 3 : Insert New Batteries
Insert new batteries, most AAA batteries should work, but only if you use the batteries that’s the same as those already in, are we 100% sure it will work.

Step 4 : Put Silicon Ring Back On
Put the Silicon ring back on, make sure that the holes in the ring aligns with the holes for the screws and that the small protution in the ring aligns with the small protution in the plastic where the hole for the key ring is.

Step 5 : Ensure Ring I Placed Correctly
Make sure that the silicon ring i placed correctly, that the holes align with the holes for the screws and that the small protution in the silicon ring align with the hole for the key-ring

Step 6 : Put Back, Back on
Put the backside of the rowclock back on to the front, there’s a lines across in the inside of the back, dividing the back in to two parts, make sure the large part is aligned to thats where the batteries are, as shown on the image.

Step 7 : Screw The Back In Place
Screw in the 4 screws to get the Rowclock completely reassembled, make sure to tighten the screw in order to ensure that the Rowlcock is water resistant,